Showing posts with label frankening. Show all posts

Monday, October 1, 2012

Nail-aween Nail Art Challenge - Day 1: Water Marble

I LOVE Halloween!  When I found this challenge hosted by Sassy Nails, I couldn't resist, especially since this challenge is done at your own pace!  It's perfect for a full-time working mom of 2 young boyos, who also likes to read & knit & sew!


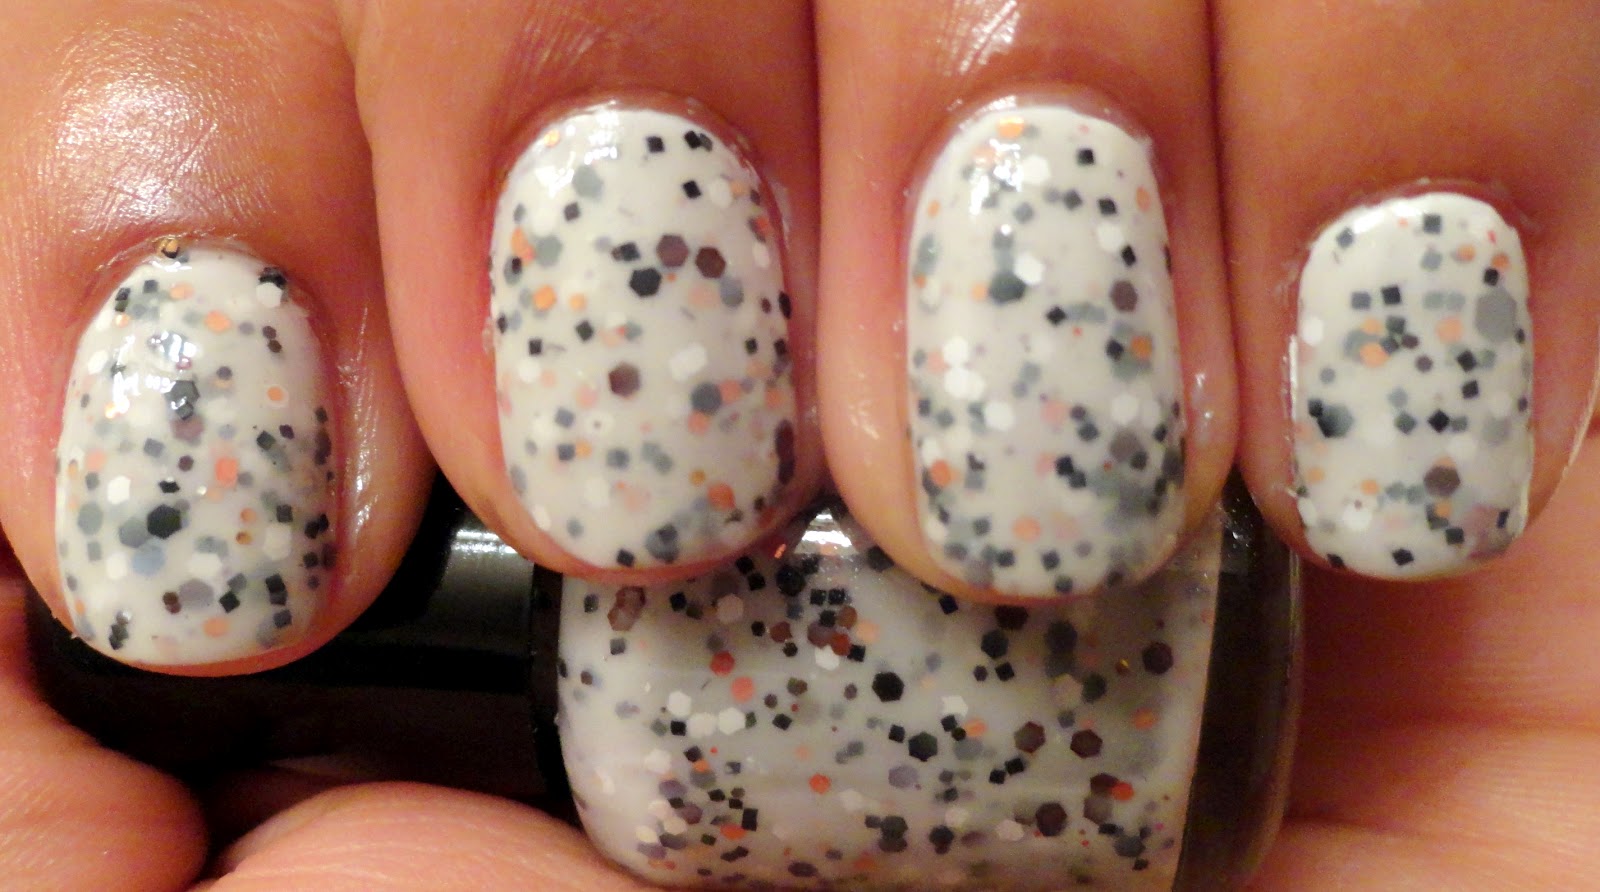
As you can see, today is Day 1, and I actually did a water marble!  Only bummer is that I can't wear it to work tomorrow since we've got an audit going, and I have some other professional-like things to do. Boo! 

I used all Sinful Colors for this one:
L to R: Clementine, Black on Black, Innocent, Amethyst

I painted on a coat of white (Sinful Colors "Snow Me White), and went to town:


I love the colors in this!  I wanted to use a darker green, but it wasn't working in the water marbling process...it wouldn't spread and it dried too fast :-(  My ring finger is just purple & green marble topped with my own little Halloween franken.  Overall, I'm happy with this one, except for the thumb, which I accidentally bumped :-/

These are the other cool peeps participating in the challenge.  Check 'em out!

Saturday, August 25, 2012

My "Granite" Franken, Part II

Even though she had announced it a while ago, I'm still super-sad that Amy at I'm Feeling Nailventurous is no longer making her awesome creations.  I had so many of them on my "Want" list.  But she has made the decision for herself and her well-being, and I am really glad she was able to make that difficult choice...nail polish is not worth anyone's happiness.  She's such an awesome blogger, I'm glad she's still swatching away!!

So I'm trying frankening dupes of my fave polishes on my wishlist.  I have already taken a stab at making a polish similar to Nailventurous's "Granite" in THIS POST.  Here's how it came out (with different undies):
I liked it a lot, but I wanted to add extra glitters to make it look more like the original "Granite".

I didn't want to go too crazy, so I just added small black glitter along with some white matte glitters for more texture.  Here's what I got:


This looks more like stone!  It looks lumpy, but it's totally glass-smooth!  This is 2 coats over China Glaze "White on White".  Not a dupe, but it is truly a franken "inspired by" Granite.  I think it came out beautifully, which is interesting considering it's supposed to look like rocks!  :-)

Saturday, July 28, 2012

My Franken Inspired by "Granite"

OK, so I've noticed that just recently there have been a few different bloggers posting about I'm Feeling Nailventurous's beautiful polish "Granite":  THIS ONE from "I've got the Glitter Jitters", THIS ONE by "Holographic Hussy", and THIS ONE by "Superficially Colorful".  They are bitter-sweet, in that the polish is super-gorgeous (as all Nailventurous polishes are), and that it is no longer available for purchase, as Amy has decided to no longer sell her polishes.  Although I totally support her decision to do what is best for her, I am super-bummed that her gorgeous creations will no longer be made, since I have a bunch of them on my wish list.    

So what's a girl to do?  Franken!! :-)

Here are my base polishes:

Sinful Colors "Snow Me White", China Glaze "Recycle", Nail'd It "Muddy Buddies", and Windestine's "Into the Wild".  I also threw in a few more black medium & small hexes.  I mixed just a little of the CG with the SMW and then added the glitter polishes till my mini bottle was about 1/2 full.  I added suspension base, and then the loose glitters.  I think I'll call it "Bed Rock" ;-).  The original "Granite" looks like it has a lot more small black glitters, and it also has white hexes in it, but I decided not to add them.    I'm actually still debating that decision...

SWATCH TIME! (click on the pics to en-biggen)


Sorry the writing's so small.  From right (pinky) to left (pointer):  2 coats of "Bed Rock" alone. 3 coats of BR alone. 2 coats of BR over Sinful Colors "Snow Me White". 2 coats of BR over China Glaze "Recycle".

Sooooo, I think I like the 3 coats alone the best, followed closely by the white undies.  The opacity came out perfectly on this, so that it's sheer enough to see the glitters in the bottom layers, and it builds up to full coverage.  Although I'm quite happy with my franken, I think I'm going to tweak it a bit to look more like the original.  Well, at least I don't feel so bad about missing out on the real "Granite" ;-).  What do you think?


Sunday, July 22, 2012

Sinful Colors "Amethyst" Franken-ized!!

Today was the first day of the Walgreens $.99 Sinful Colors sale!  Now, I really like Sinful Colors polishes!  They have amazing colors, are 4-free, have a nice formula, are great in water-marbling, and are regularly $1.99, so they won't break the bank, and I don't feel so guilty marbling with them!  There have been a few new "collections" that have come out recently, and today I raided them! :-)

My absolute faves were "Amethyst" (purple creme), "Rain Storm" (medium blue creme) and "Lavender" (periwinkle creme).  I got 2 of the first two, and only 1 of the Lavender, but I will fix that oversight tomorrow, as it is sooo similar to my favorite China Glaze shade: "Secret Peri-wink-le"  

I've been wanting to try a jelly-like franken with glitter in it, and I was inspired by THIS POST by the one and only I'm Feeling Nailventurous.  So I figured I'd use "Amethyst" as my base, I picked out a few other polishes in my stash, and away I went.

I added a little Amethyst, and then kept adding the glitter polishes till my mini bottle was almost full.  Then I added more glitter hearts, and a pinch of small pink & purple glitters.

I painted a base of Amethyst and an accent nail of Sinful "Outrages".  This is 2 coats of each with no top coat.  The polish went on so smoothly, and is completely opaque with 2 easy coats.  Not bad for $.99!  On the thumb, I layered 2 coats of my franken.  When I layered the franken over the ring finger, it totally hid the pink.  So I tried the franken all by itself.  This is 3 coats on the ring finger:

Nice coverage, but I prefer it with "underwear" like on the thumb.  So I re-did it:


The flash makes it look more blue than it really is:

So I really like how this polish turned out!  I think I should have used less "Amethyst" so that the polish would be more sheer.  I really like the look of how the glitters are kind of emerging out of the polish.  Anyway, if this franken had a name, it would be "Elusive Hearts", because I had to fish around forever to get hearts on the brush.  And there are like a zillion of them in there...I know, because I put them in because they're my favorite part!

So get yourself to Walgreens this week, and try some frankening out for yourself!


Wednesday, July 4, 2012

"Watermelon Candy" Franken Nails

Yes, another post in the same day!  But I couldn't resist trying out my new Watermelon Candy franken! 

So, here it is over Zoya's Rory (which is soooo gorgeous on its own, and practically paints itself on!  I only had to use 1 coat)


And with flash:

Lovin' it!  I added 1 & 1/2 coats of my Watermelon Candy franken, and the 1/2 was just to make sure I had enough seeds on each nail.  YAY!

But what watermelon is complete without a rind?  Enter Zoya's "Ivanka"


Sun shot w/camera phone:

I can't stop staring at my nails, they're so sparkly in person!  I'm in love with my polish, and of course the Zoya's always blow me away!  This mani's gonna be on for a while! :-D

First-Time Frankening!

My Indie drawer is super-full!  I have my faves: Lacquistry, KB Shimmer, Darling Diva Polish, Windestine, and Pretty & Polished, and I have collected quite a few of these ;-).  Then there are others I order from to try based on pics, reviews, or just browsing Etsy.  I usually order 2 or 3 of their polishes at a time, and have fallen for Rainbow Honey, Utopia's Polish, Lacquer Convention, All that Glitters, Lush Lacquer, Feenix Polish, Whimsical Ideas by Pam, Aphrodite Lacquer, and Amy's Nail Boutique.  And I have 1 Dollish, and 1 Nailventurous, but that's because they're so hard to get a hold of.

The top box is where my Indie's live.  It's kinda full :-/


Anyway, I still browse Indie stores, but I'm starting to say "hmmm, I think I already have one like that" a lot more often.  So, of course, I figured I'd try my hand at making my own, since I could then customize my polish.

So, I ordered some supplies:

To begin my foray into this uncharted territory, I started pretty easy:   I added some Spectraflair powder to bottles of "Out the Door" fast-dry top coat.  I've got 14 & 35 "fineness".  Sorry, no pic though.  Just looks like a grey polish, but it's magic!  So far, so good!  :-)

But then I got down to the business of making polishes I've been wanting.  I made a matte black & white polish, with different sizes and shapes of glitter, including bars & squares (sound familiar?)  There are a TON of different versions out there, but none that I really loved.  I'm so happy with how mine came out.

I then needed to see how glitter behaves in the bottle, and how much I need, etc, so I figured I'd just add some pink, blue, & silver along w/silver bars for interest.  In the end, I added more blue than pink, and more bars than I thought I had needed.

Ever since seeing Lacquisty's custom "Watermelon", I've been wanting a glitter polish reminiscent of that sweet, summer fruit.  I started with pink glitter & added enough small black matte glitters to make it happen!


I also got some flakie-like pigments.  I had no idea how these would look, so I threw in equal parts blue, violet, and green.  I think it's fantastic over black.


I'm really happy with how these came out, especially since they're my VERY first tries!!  It was super-fun, too!  I'm sure as I go along I'll have some serious fails, but maybe I'll have some serious outrageousness!  I already want to order more glitter!! ;-)

Frankening looked so fun, my boys wanted to try it out too!

They came up with "Glitter Bomb" and "Glitter Party"

Have you tried Frankening?