Monday, July 16, 2012

Water Marbling for Toes?

I was browsing around blog land, when I stumbled upon More Nail Polish!  OMG, she is so talented!  And super-creative/resourceful to boot.  Want thinking outside the box?  Look no further!  I mean, she figured out how to make her own cool magnets for magnetic polish!  Go check her out!  

And then, I saw THIS POST about "Dry Water Marbling"!  She reports that she is no good at water marbling, so she makes her marble design in the water, and then lifts it out of the water on a piece of Ziploc bag.  Once she does this, she is free to cut out the best pieces of the design, and apply them to her nails at will...no wasting tons of polish with each finger-dipping!  

Now, I'm no slouch at the whole water-marbling-the-old-fashioned-way, and I have gotten the whole process down pretty well, so it's really not a big deal to do it.  But I immediately saw the possibility of using this "Dry Water Marbling" for my toes!!  So exciting.

So, the first step is to make your water marble, then place a piece of Ziploc on top of it.  Then you can lift the whole she-bang out and set it down to dry.

I found that the stupid things wanted to curl onto themselves upon lifting out of the water, so be fore-warned.  That's why my lower purple-y one is all smudged in a bunch of places.  But when they dry, they behave nicely.

OK, so once they dry, the next step is to paint your nail with a base color.  Then, you are to cut out your design and apply polish-side down onto your base coat when it is "tacky", but not dry.  Press it down firmly. Okee-dokee!

At this point, you grab a corner firmly, then quickly rip off the plastic, like waxing your eyebrows.  I've definitely had practice doing that, so no problem...

Ahem.  Tacky base?  Check.  Firmly-pressed plastic?  Check.  Quick rip?  Check.  OK, let's try again...

Better, but still no cigar.  And now my other toes were dry at this point.  I applied a second base coat, waited about 5 minutes for it to dry, then tried applying my water marble again.

I am so bummed! :-(  I had such high hopes for this technique.  I think I'll try transferring the design to wax paper next time instead of the Ziploc...I dunno.  What do you think?  

Thursday, July 12, 2012

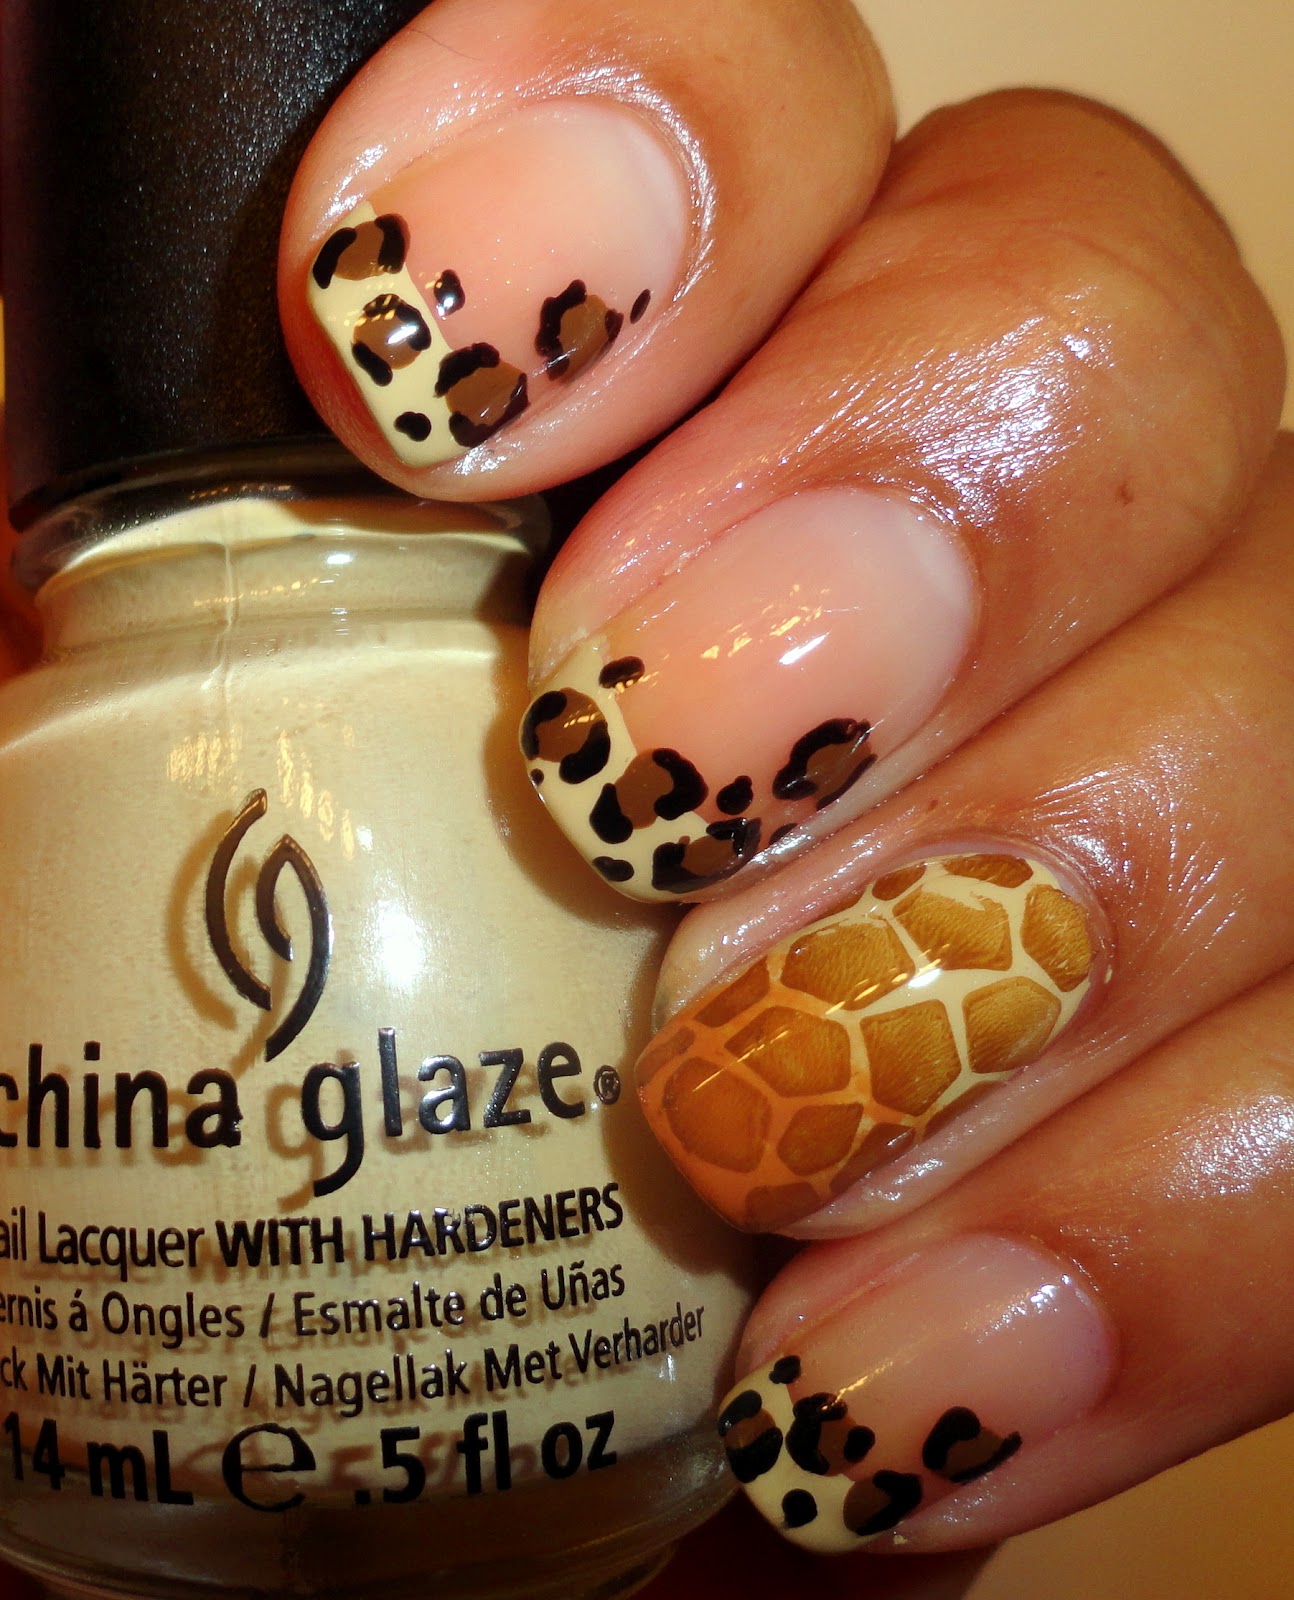
China Glaze "On Safari" French Manicure

I LOVE fall!  It's my absolute favorite time of the year!  This up-coming September will be my first autumn since becoming polish-addicted, so I'm super-excited to see Fall polish collections!  As soon as I started seeing swatches of China Glaze "On Safari", I knew I had to have them...the earthy colors, that is:
 L-R: Exotic Encounters, Elephant Walk, I'm Not Lion, Kalahari Kiss, Desert Sun, I Herd That, Call of the Wild

I LOVE THEM!  I passed on getting the reds & purples in the collection, but these are just so different than anything I already have.  And I think they all go so well together!

So, one of the super-awesome blogs I follow, Colores De Carol, had a mind-blowing giraffe manicure using 3 of the "On Safari Colors".  See it HERE.  Fantastic, right?  She also did a leopard-spot french, but I can't find it again! :-(

So, I decided to combine the leopard & giraffe, and busted out my Kalahari Kiss and Desert Sun.  I decided to go with CG Mahogany Magic instead of Call of the Wild, as it seemed lighter to me, and I used Liquid Leather for my dots:


With Flash:

I am very happy with this one!!  And the colors are wonderful!  YAY!!

I should probably take pics showing the layering process, huh?  It's just that I get so excited to see what the final product will end up looking like, that I don't want to stop to pose for pics!  I'll think about it for next time...  

Sunday, July 8, 2012

Deborah Lippmann "Dancing in the Sheets" Stamped!

When I started following polish pages, I kept hearing about this Deborah Lippmann who made polishes for celebs.  Sounded interesting, but when I saw the $18 price tag, my interest waned pretty quickly.

Until I found out that HSN (yes, Home Shopping Network) carries Deborah Lippmann polishes.  And sometimes, they go on clearance for $10 for a 2-pack of full-sized polishes!!  $5 for a well-touted polish??  Oh, yeah!!

So I've been collecting them, but I haven't tried them out yet!!  So I busted out a lovely dark purple with blu-ish shimmer called "Dancing In the Sheets".  It was lovely enough, but I also wanted to try out my new Bundle Monster 2012 plates.  So I grabbed Pure Ice "Love", BM Plate #318, and here's what I got:


 No flash:
At the beach in the sun:


So the DL was nice after 2 coats, but some nails needed 3 for full opacity.  The shimmer was present, but not as pronounced on the nail as in the bottle.  

I loved my BM stamp, but I need more practice to get the placing the same for every nail.  Whatever, I still love me some hibiscus!  :-)

Overall, I don't think this was the best combo.  The light pink really didn't go with the dark polish.  And the all-over design covered up the pretty shimmer of the DL.  But you live & learn, right?  

Wednesday, July 4, 2012

"Watermelon Candy" Franken Nails

Yes, another post in the same day!  But I couldn't resist trying out my new Watermelon Candy franken! 

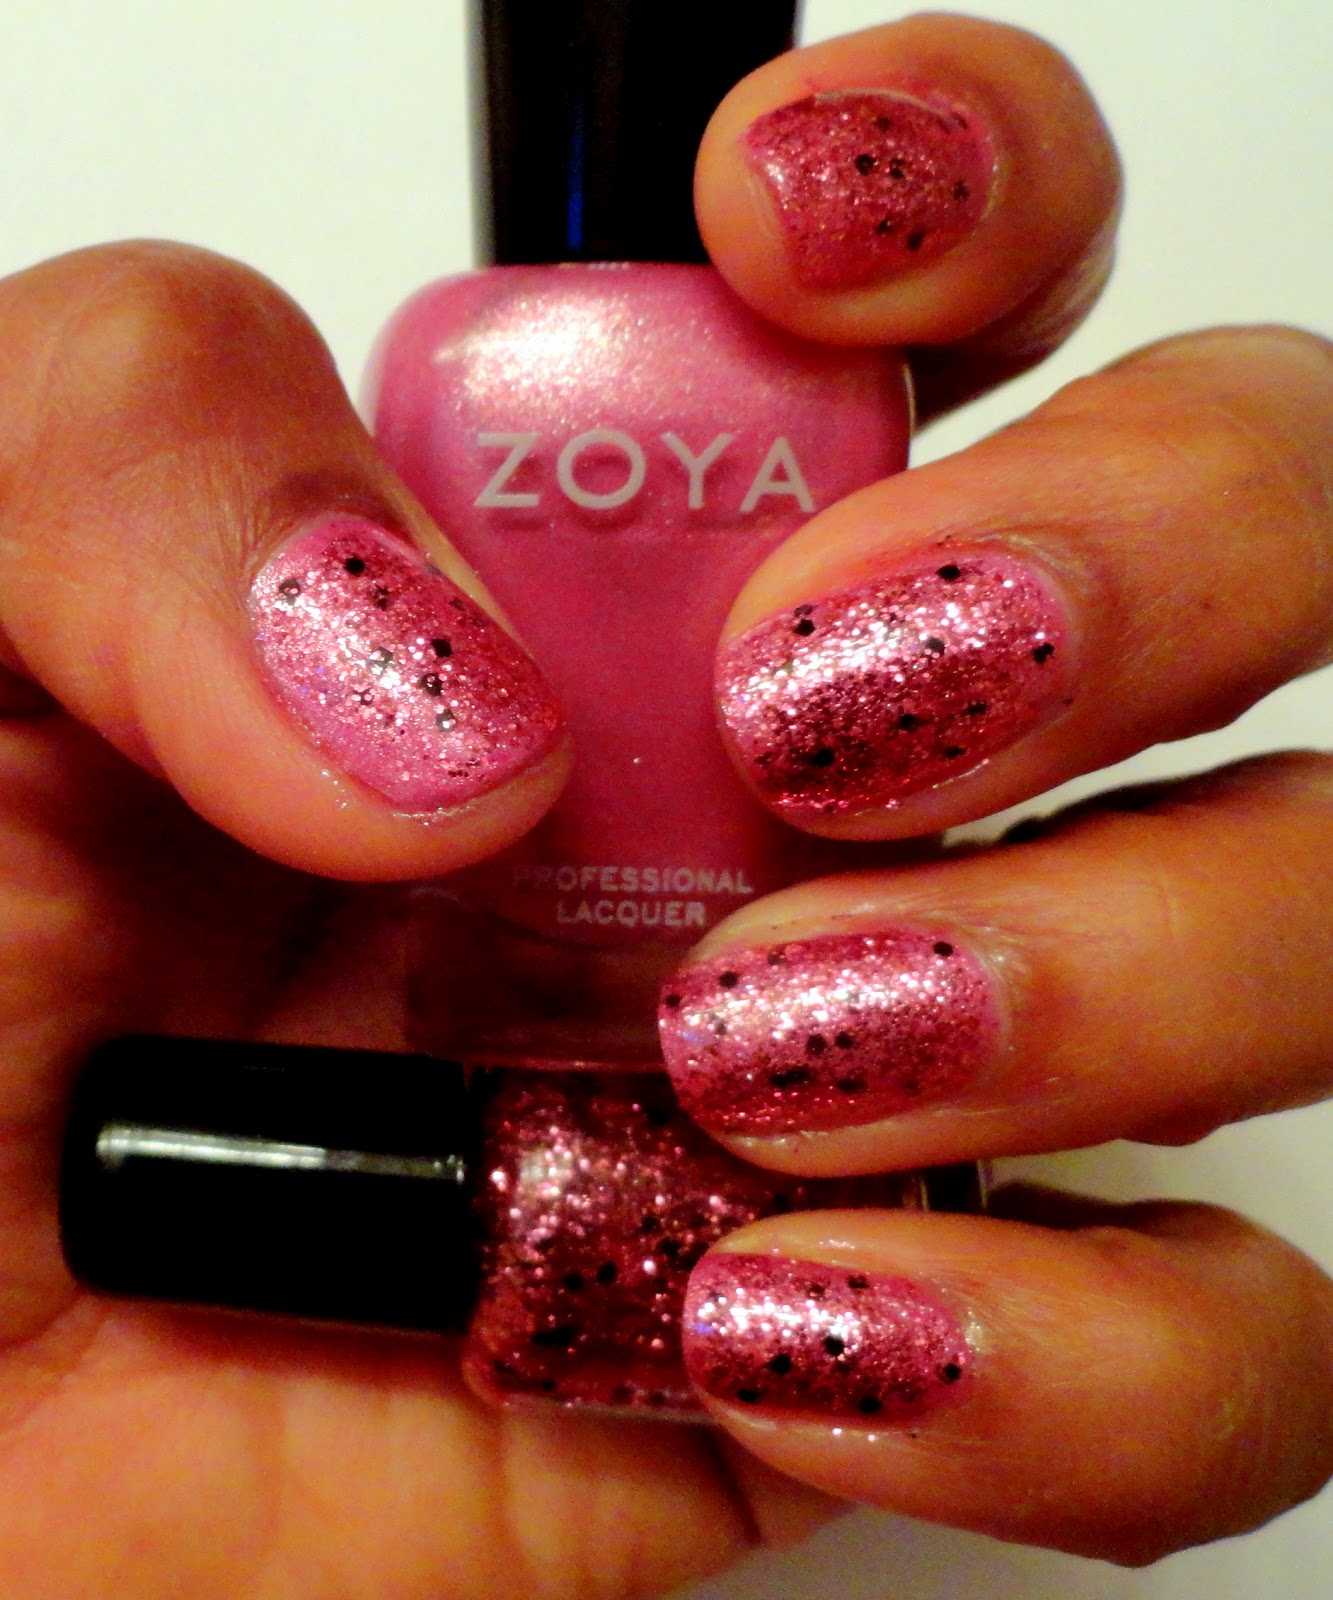
So, here it is over Zoya's Rory (which is soooo gorgeous on its own, and practically paints itself on!  I only had to use 1 coat)


And with flash:

Lovin' it!  I added 1 & 1/2 coats of my Watermelon Candy franken, and the 1/2 was just to make sure I had enough seeds on each nail.  YAY!

But what watermelon is complete without a rind?  Enter Zoya's "Ivanka"


Sun shot w/camera phone:

I can't stop staring at my nails, they're so sparkly in person!  I'm in love with my polish, and of course the Zoya's always blow me away!  This mani's gonna be on for a while! :-D

First-Time Frankening!

My Indie drawer is super-full!  I have my faves: Lacquistry, KB Shimmer, Darling Diva Polish, Windestine, and Pretty & Polished, and I have collected quite a few of these ;-).  Then there are others I order from to try based on pics, reviews, or just browsing Etsy.  I usually order 2 or 3 of their polishes at a time, and have fallen for Rainbow Honey, Utopia's Polish, Lacquer Convention, All that Glitters, Lush Lacquer, Feenix Polish, Whimsical Ideas by Pam, Aphrodite Lacquer, and Amy's Nail Boutique.  And I have 1 Dollish, and 1 Nailventurous, but that's because they're so hard to get a hold of.

The top box is where my Indie's live.  It's kinda full :-/


Anyway, I still browse Indie stores, but I'm starting to say "hmmm, I think I already have one like that" a lot more often.  So, of course, I figured I'd try my hand at making my own, since I could then customize my polish.

So, I ordered some supplies:

To begin my foray into this uncharted territory, I started pretty easy:   I added some Spectraflair powder to bottles of "Out the Door" fast-dry top coat.  I've got 14 & 35 "fineness".  Sorry, no pic though.  Just looks like a grey polish, but it's magic!  So far, so good!  :-)

But then I got down to the business of making polishes I've been wanting.  I made a matte black & white polish, with different sizes and shapes of glitter, including bars & squares (sound familiar?)  There are a TON of different versions out there, but none that I really loved.  I'm so happy with how mine came out.

I then needed to see how glitter behaves in the bottle, and how much I need, etc, so I figured I'd just add some pink, blue, & silver along w/silver bars for interest.  In the end, I added more blue than pink, and more bars than I thought I had needed.

Ever since seeing Lacquisty's custom "Watermelon", I've been wanting a glitter polish reminiscent of that sweet, summer fruit.  I started with pink glitter & added enough small black matte glitters to make it happen!


I also got some flakie-like pigments.  I had no idea how these would look, so I threw in equal parts blue, violet, and green.  I think it's fantastic over black.


I'm really happy with how these came out, especially since they're my VERY first tries!!  It was super-fun, too!  I'm sure as I go along I'll have some serious fails, but maybe I'll have some serious outrageousness!  I already want to order more glitter!! ;-)

Frankening looked so fun, my boys wanted to try it out too!

They came up with "Glitter Bomb" and "Glitter Party"

Have you tried Frankening?

Sunday, July 1, 2012

4th of July Mani - MoDiddie Style!

So this is the weekend immediately preceding 4th of July, which falls on a Wednesday this year.  So, I figured I should do the patriotic thing, and color my nails red, white and blue.

I've seen lots of really cool designs peeps have entered into nail art contests on FB for the 4th, and I did some image searches too for some inspiration.   I was really excited about the water marble American Flag mani by MoDiddie.  Click HERE to see her YouTube tutorial...she's got other cool videos too!  HERE is her blog, too! ;-)

 Indoors
 In the sun
On the car dashboard ;-)

Please excuse the poor clean-up...hubby was rushing me cuz we were leaving on a trip to San Diego.  Unfortunately, in his rush, he forgot the suitcase at home, so we are here for 4 days w/out even a toothbrush, let alone clothing!!!  The worst part is that I had packed some nail stuff so I could change my mani up.  Time to go shopping!!

Anyway, I like how this came out!  It took me a few times to get the striping right in the water marble, but it was fun.  Biggest tip I can give you for water marbling:  PUT A TOP COAT OVER YOUR BASE COLOR BEFORE YOU DIP YOUR FINGER IN.  I use a cheap fast-dry (NYC) top coat to not only help cut the time between prepping and actual dipping, but if your marble doesn't come out, just lightly swipe your nail with remover, and you're ready to try again...no need to re-prep!  Ask me how I know ;-)

Also, do NOT down a Cinnamon Dolce Latte right before trying to precisely place little white dots on your nail.  My hand was shaking like a leaf, and I came out with interesting stars on my flag ;-)

The glitter is Pretty & Polished's "Freedom Calling".  This is 3, strategically-placed coats.  You can visit her Etsy shop HERE, although you should also follow her on FaceBook HERE for updates about her stocking schedule.    

I like this one, but I have plans for another RW& B mani before the actual big day...


Monday, June 25, 2012

Lacquistry Custom "Sand & Sea"

If you have followed my blog or FB page at all, you know that I absolutely adore Jenna @ Lacquistry!  She is a freakin' polish-making goddess, and is a total sweetheart to boot!  So, when I had the opportunity to request a custom order from her a while back, I jumped on the chance!  

I have already posted about one of my customs, "Hawaiian Sunset".  Next up is "Sand & Sea".  
Jenna says, "First up, you asked for something involving the beach and sand. I came up with something for you combining 9 different shapes, sizes and colors. We have the ocean represented by a "salty" cool oceanic blue (hey that rhymed!) sprinkled with mini holo sea green hexs' and light blue holo hexs'. The sand meets the sea with an "un-gold" true shimmering sand color- achieved by blending 3 different fine sand colors and a sand colored mini-hex for size interest. I kept it more of a cool-toned, misty day as opposed to a bright sunny day, if that makes sense."


 I think it makes PERFECT sense!!
I mean, look at that freakin' BLING!!  And it is totally the SAND & SEA.  Well, technically, this is the Ocean (Newport Beach, CA to be exact), but whatever!  These are the cool colors of the Pacific, as opposed to the bright aqua's of like the Carribbean, and I LOVE it!  I am totally amazed that she was able to get the color of the beach into a bottle!!  

The other polishes in my mani are Zoya's "Charla" and a water marble fail of a gold & silver Pure Ice polish (I'm too lazy to find the names, and I'm too bitter to care).  I actually painted "Charla" over the other failed water marbles, since I've heard she stains like a beeotch, so hopefully this layering will help avoid that.


Here's another pic in the sun, cuz that's how I roll!

For a little more drama to this story, this is actually the 2nd version of "Sand & Sea".  The first exploded in the mail, and arrived like this:
We think it was due to the heat, since it was like 110 degrees in Arizona, and about that here in Cali during the transit time, and it actually had to bake in my metal mailbox all day until I got home from work.  It was obviously well-wrapped, so it doesn't seem likely that was the culprit.  At any rate, Jenna promptly made a replacement one, which made it home safe & sound (obviously, duh!).

Sorry, it seems like I gush whenever I have something to say about Lacquistry, but I've loved every single polish of hers I've gotten (I'm up to 20).  She's also the one that got me hooked into this nail community; I accidentally stumbled upon "Autumn Flurries" in an Etsy treasury and the rest is history.  Also, Jenna is a true artist who really cares about her craft, and I deeply admire her talent.  Did I mention she's also like the coolest person ever?

Jenna is currently finishing up her custom orders (she's not taking any more at this time), and has announced that she will start stocking her Etsy Shop soon.  Keep an eye on her Facebook Page for updates, and to also check out the other custom polishes she's made for other lucky customers.  I can't wait to get me more Lacquistry!!